I recently modified one of my apps, Conjugar, to use SwiftUI rather than UIKit for its settings screen. I hereby present, for the reader’s edification and enjoyment, some observations and learnings from this process. I cover:
- Spurious reasons not to learn SwiftUI
- How to learn
- Naming
- Dependency injection in a mixed UIKit/SwiftUI app
- Stack Overflow filling a gap
- Animation
- Unit-testing SwiftUI

Spurious Reasons Not to Learn SwiftUI
I waited a ridiculous four months after the announcement at WWDC 2019 to start learning SwiftUI. I had two good reasons to focus my limited spare time elsewhere: I was preparing a talk for iOSDevUK on dependency injection, and I had three apps to update for iOS 13 and, in particular, Dark Mode. Thinking back on my internal monolog, however, I recall some excuse-making. These excuses lacked and lack merit.
- I’ve already invested six years in UIKit. So what? Mastering one thing is not a reason to learn another. At the time I started learning French, at age twelve, I had already mastered English. In the ensuing years, the benefits of learning French, including the ability to speak with a Toulouse accent and ask a non-English-speaking bed-and-breakfast proprietor in rural France to prepare a vegetarian meal for my wife, were manifest.1
- UIKit already works. But adopting SwiftUI doesn’t require wholesale abandonment of code that uses UIKit. Using
UIHostingController,UIViewRepresentable, andUIViewControllerRepresentable, one can freely mix the two frameworks. - SwiftUI is an abstraction built on top of UIKit, so SwiftUI can’t do everything that UIKit can do.
UICollectionViewhas no direct equivalent in SwiftUI. Also, this. But abstraction has enabled productivity gains throughout the history of software development. Here are two examples. First, assembly language is an abstraction on top of machine language. The computer doesn’t need or use the shorthand names for registers or instructions that assembly language provides. But these shorthand names facilitate the task of reasoning about registers and instructions. The assembly developer need not map, mentally or manually, between hex values and what they represent. Second, protected memory is a sort of abstraction, in that programs run in a virtual sandbox that prevents programs from interfering with the operation of other programs or the operating system. When I learned C++ on a Mac LC III in 1994, the memory was unprotected. This meant that when I erred with respect to pointer use or array access, the operating system frequently crashed, necessitating a reboot. A developer learning or using C++ today on an operating system with protected memory, for example Windows NT, would not experience these operating-system crashes. - My employer(s), actual or potential, can’t fully adopt SwiftUI for some time because SwiftUI requires iOS 13, and commercial apps tend to support one or more previous versions of iOS. Assuming arguendo the truth of this statement, a few facts make it less-than-persuasive as a reason not to learn SwiftUI now. SwiftUI can be used in an app that supports older versions of iOS with judicious use of
if #available()or perhaps these frameworks. SwiftUI can be fully embraced now in hobby apps, such as my own, that require iOS 13. Learning SwiftUI now gives the developer a leg up for the potential time when SwiftUI becomes the dominant approach for creating Apple-ecosystem UIs. - SwiftUI previews require Catalina, and I didn’t want to install Catalina, a beta OS, on my primary development laptop. But I did manage to install Catalina on a new partition, leaving Mojave on the main one. Moreover, development with SwiftUI doesn’t require previews. The developer can just run the app and see the results. In any event, Catalina is now out of beta.
How to Learn
Professions other than software development may require aspirants to master a large body of knowledge. For example, a person wishing to become an attorney in Vermont would need to learn, to pass the bar exam in that state, that a person declaring bankruptcy may retain three hives of bees. Software development is unusual, however, in its emphasis on the importance of ongoing learning. Swift was an entirely new language at the time of its introduction in 2014. No one outside Apple had ever heard of it. Today, Swift is increasingly the language of Apple-ecosystem software development. SwiftUI represents a paradigm shift from UIKit. If SwiftUI supplants UIKit, much of developers’ accumulated UIKit knowledge will become largely, if not entirely,2 unhelpful.
Given the importance of learning in our industry, I have endeavored to refine my learning process. I hope the reader can benefit from the description of my approach, with the example of learning SwiftUI, that follows.
My ultimate goal was to learn SwiftUI, but that goal needed refinement. SwiftUI and its companion, Combine, are beefy frameworks. Teams of developers have been working on them for years, since 2013 in Combine’s case. If I had tried to master both frameworks in their entirety, without applying them to a production app, months would have passed without tangible benefit. Worse, without real-world application of already-learned concepts, those concepts would slowly have faded from my brain, putting me back near where I started in terms of understanding.
So I set the following, more-modest goal: convert the settings screen in my app Conjugar from UIKit to SwiftUI.

This screen contained a finite number of classes to “translate” from UIKit to SwiftUI: UILabel, UIButton, UISegmentedControl, and UIScrollView. I completed approximately four SwiftUI tutorials by Paul Hudson and Apple, focusing on the SwiftUI analogs of the identified classes: Text, Button, Picker, and ScrollView. I was then ready to implement the screen. I did so. The process went quickly. The screen ended up having seventeen Texts, four Pickers, two Butttons, and a ScrollView. (Sadly no partridges.) By repeatedly using these four SwiftUI idioms for the settings screen, I committed them to long-term memory. Verily, I didn’t learn all of SwiftUI, but I mastered these four foundational elements.
Speaking of analogs, I heartily endorse a website, Gosh Darn SwiftUI, that features SwiftUI analogs of UIKit APIs.
Naming
In Conjugar, there were top-level groups named, for example, Models, Controllers, and Views. The latter two had UIViewController and UIView subclasses, respectively. For example, the foo feature/screen had a file called FooVC.swift (the view controller) and FooView.swift (the view) within the Controllers and Views groups, respectively. When I incorporated SwiftUI for the settings feature/screen, however, my approach to naming no longer worked. For one thing, the name SettingsView.swift became ambiguous, in that the filename could describe a SwiftUI View or a UIKit UIView. Further, when I converted SettingsView from UIKit to SwiftUI and left it in the Views group, that group began to violate the single-responsibility principle. The responsibility of this group had been to hold UIView subclasses, but now it held UIView subclasses and a struct that conformed to View, SettingsView.
Regarding ambiguity of the naming convention *View, I decided to reserve that type of name for structs that conform to View and the files that contain them. So the SwiftUI settings screen is defined by a struct called SettingsView, which lives in a file called SettingsView.swift. I renamed UIView subclasses *UIV and updated filenames accordingly. For example, QuizView and QuizView.swift became QuizUIV and QuizUIV.swift, respectively. I renamed the existing Views group UIViews and reserved the existing Views group for SwiftUI Views.
As an aside, the reader may wonder why I abbreviate ViewController and UIView in symbol-and-file names to VC and UIV, respectively. I develop primarily on a laptop with no external display and therefore have limited screen real estate. Abbreviated names allow me to give less horizontal space to the project navigator, reserving more space for editor window(s). Moreover, I find that VC and UIV unambiguously convey meaning and that their unabbreviated counterparts would constitute a sort of visual clutter. I recognize, however, that this is a matter of taste.

Dependency Injection in a Mixed UIKit/SwiftUI App
I am passionate about dependency injection. A full explanation of this concept is beyond the scope of this blog post (not this one), but here is how I defined it for the iOSDevUK talk:
Dependency injection is the practice of taking away from objects the job of acquiring their dependencies, making those objects more easily tested, and wrapping potentially undesirable side effects in protocols. A dependency is an object that another object relies on to achieve its business purpose. A side effect is a change that persists beyond the lifespan of an object that causes the side effect.
After my talk, Daniel Steinberg asked about the implications of SwiftUI’s EnvironmentObject for the three approaches to dependency injection that I had described. Not having coded so much as a VStack, I was unable to answer.
But having implemented Conjugar’s SwiftUI settings screen, I now can, in part. Conjugar uses an approach to dependency injection called The World, whereby dependeffects (a term I coined to encompass dependencies and side effects) live in a global struct whose contents vary depending on the scenario: device, simulator, unit test, or UI test. Here is a simplified version of Conjugar’s World struct with all but one dependeffect, the Settings object, removed:
#if targetEnvironment(simulator)
var Current = World.simulator
#else
var Current = World.device
#endif

struct World {
  var settings: Settings

  init(settings: Settings) {
    self.settings = settings
  }

  static let device: World = {
    return World(settings: Settings(getterSetter: UserDefaultsGetterSetter()))
  }()

  static let simulator: World = {
    return World(settings: Settings(getterSetter: DictionaryGetterSetter()))
  }()
}
Note that the Settings object uses UserDefaults for persistence on device and a Dictionary in the simulator.
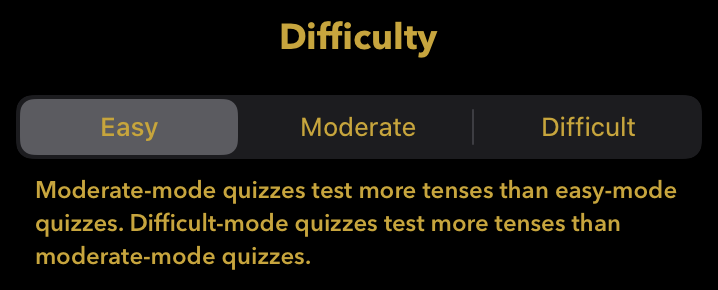
By way of example use, here is how Conjugar accessed the infoDifficulty setting to set the UISegmentedControl in the screenshot below:
switch Current.settings.infoDifficulty {

Having encountered EnvironmentObject both in Daniel’s question and in my limited study of SwiftUI, I intuited that EnvironmentObject might facilitate accessing dependeffects in my new SettingsScreen. The question was whether I could use EnvironmentObject for SettingsScreen without completely reworking Conjugar’s implementation of dependency injection. The answer, I learned, was yes. Here is how I did that.
- Have
Worldconform toObservableObject, makingWorlda “type of object with a publisher that emits before the object has changed”. - Change
Worldfrom astructto aclassto fix the compiler errorNon-class type 'World' cannot conform to class protocol 'ObservableObject'. - Prepend dependeffect declarations with the
@Publishedproperty wrapper, making those dependeffects “observable objects that automatically announce when changes occur”. - Give the
SettingsViewaccess to theWorldby changing the declaration of theUIHostingControllerholding theSettingsViewto the following:let settingsVC = UIHostingController(rootView: SettingsView().environmentObject(Current)). - Add the following property to
SettingsView:@EnvironmentObject var current: World. - Access the
Worldas follows:
self.current.analytics.recordVisitation(viewController: "\(SettingsView.self)")
This line uses the analytics dependeffect to fire an analytic stating that the user visited the SettingsScreen. Most SettingsView current accesses are in closures, necessitating self., at least for now.
Aside from the World changes described above, I was able to leave Conjugar’s implementation of dependency injection intact. The World therefore appears compatible with EnvironmentObject and SwiftUI more generally.
Stack Overflow Filling a Gap
In one of the tutorials I completed, I learned about Picker and SegmentedPickerStyle(), which together constitute the SwiftUI equivalent of UISegmentedControl, which the settings screen used. The tutorial covered accessing the selected element of the Picker but not taking some action based on selection of an element. In the case of Conjugar, I wanted the Picker for quiz difficulty to update the difficulty value in the World instance.
The solution, as I learned from Stack Overflow contributor Nathaniel Fredericks, is to create a “store” that can be bound (in SwiftUI parlance) to the Picker. In my implementation, this object, SelectionStore, has its own World instance, current, in order to manipulate that instance when appropriate. Here is an abbreviated version of SelectionStore from Conjugar:
final class SelectionStore: ObservableObject {
  var current: World?

  var difficulty: Difficulty = Settings.difficultyDefault {
    didSet {
      current?.settings.difficulty = difficulty
    }
  }

  // Similar computed properties for region, secondSingularBrowse, and secondSingularQuiz are omitted.
}
SettingsView has a SelectionStore property:
@ObservedObject var store = SelectionStore()
The difficulty Picker (for example) initializes the SelectionStore’s World and Difficulty instances using the onAppear() function, as shown here:
Picker("", selection: $store.difficulty) {
  ForEach(Difficulty.allCases, id: \.self) { type in
    Text(type.rawValue).tag(type)
  }
}
  .modifier(SegmentedPicker())
  .onAppear {
    self.store.difficulty = self.current.settings.difficulty
    self.store.current = self.current
  }
Note also the binding of the SelectionStore to the Picker in this line:
Picker("", selection: $store.difficulty) {
This approach represents a paradigm shift from my current UIKit practice, which does not include binding. I share the approach here for two reasons. First, I am making the point that I figured this out with just four tutorials under my belt, and I suspect that other committed iOS developers could also do so. Second, this is an example of learning precisely what I need to learn in order to accomplish a concrete task. I didn’t need to completely grok data flow in SwiftUI, though I did watch the WWDC video on this topic, which I found enlightening with the context of having bound a few variables myself.
Animation
Conjugar’s settings screen has always had a button that allows the user to enable Game Center. In order to draw users’ attention and encourage them to tap, I have used UIView.animate() to give the button a pulsating effect:
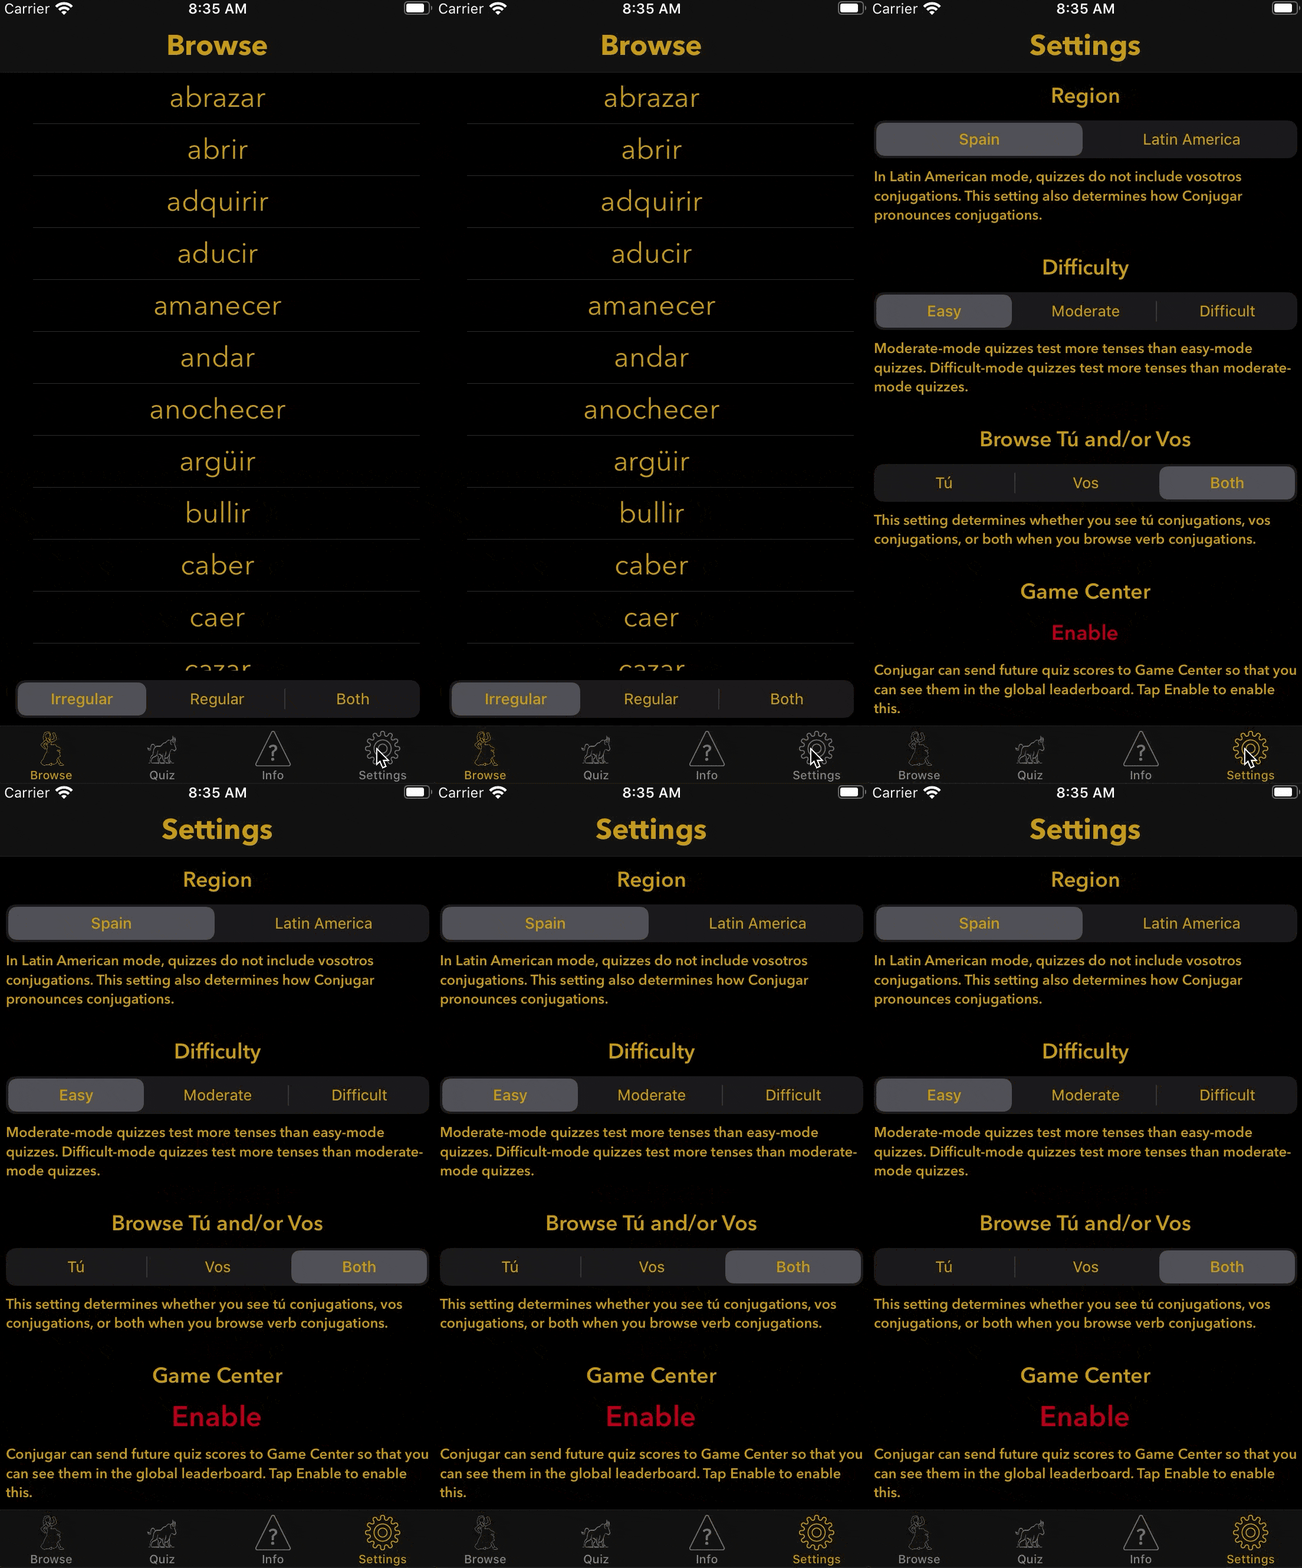
I wanted to retain this animation in the SwiftUI implementation of the screen. Animation works quite differently in SwiftUI than it does in UIKit. I benefitted from write-ups by Paul Hudson and Javier Nigro.
Here is the Hudson approach in code:
@State var scale: CGFloat = 1.0 // This is a property of SettingsView.

...

Button("Enable") {
  // Code omitted for clarity.
}
  .modifier(StandardButton())
  .scaleEffect(scale)
  .onAppear {
    let duration: TimeInterval = 1.0
    withAnimation(Animation.easeInOut(duration: duration)) {
      self.scale = 0.9
    }
  }
I could not get this approach to work in Conjugar because, I determined by debugging, my View uses a ScrollView. This was the result:
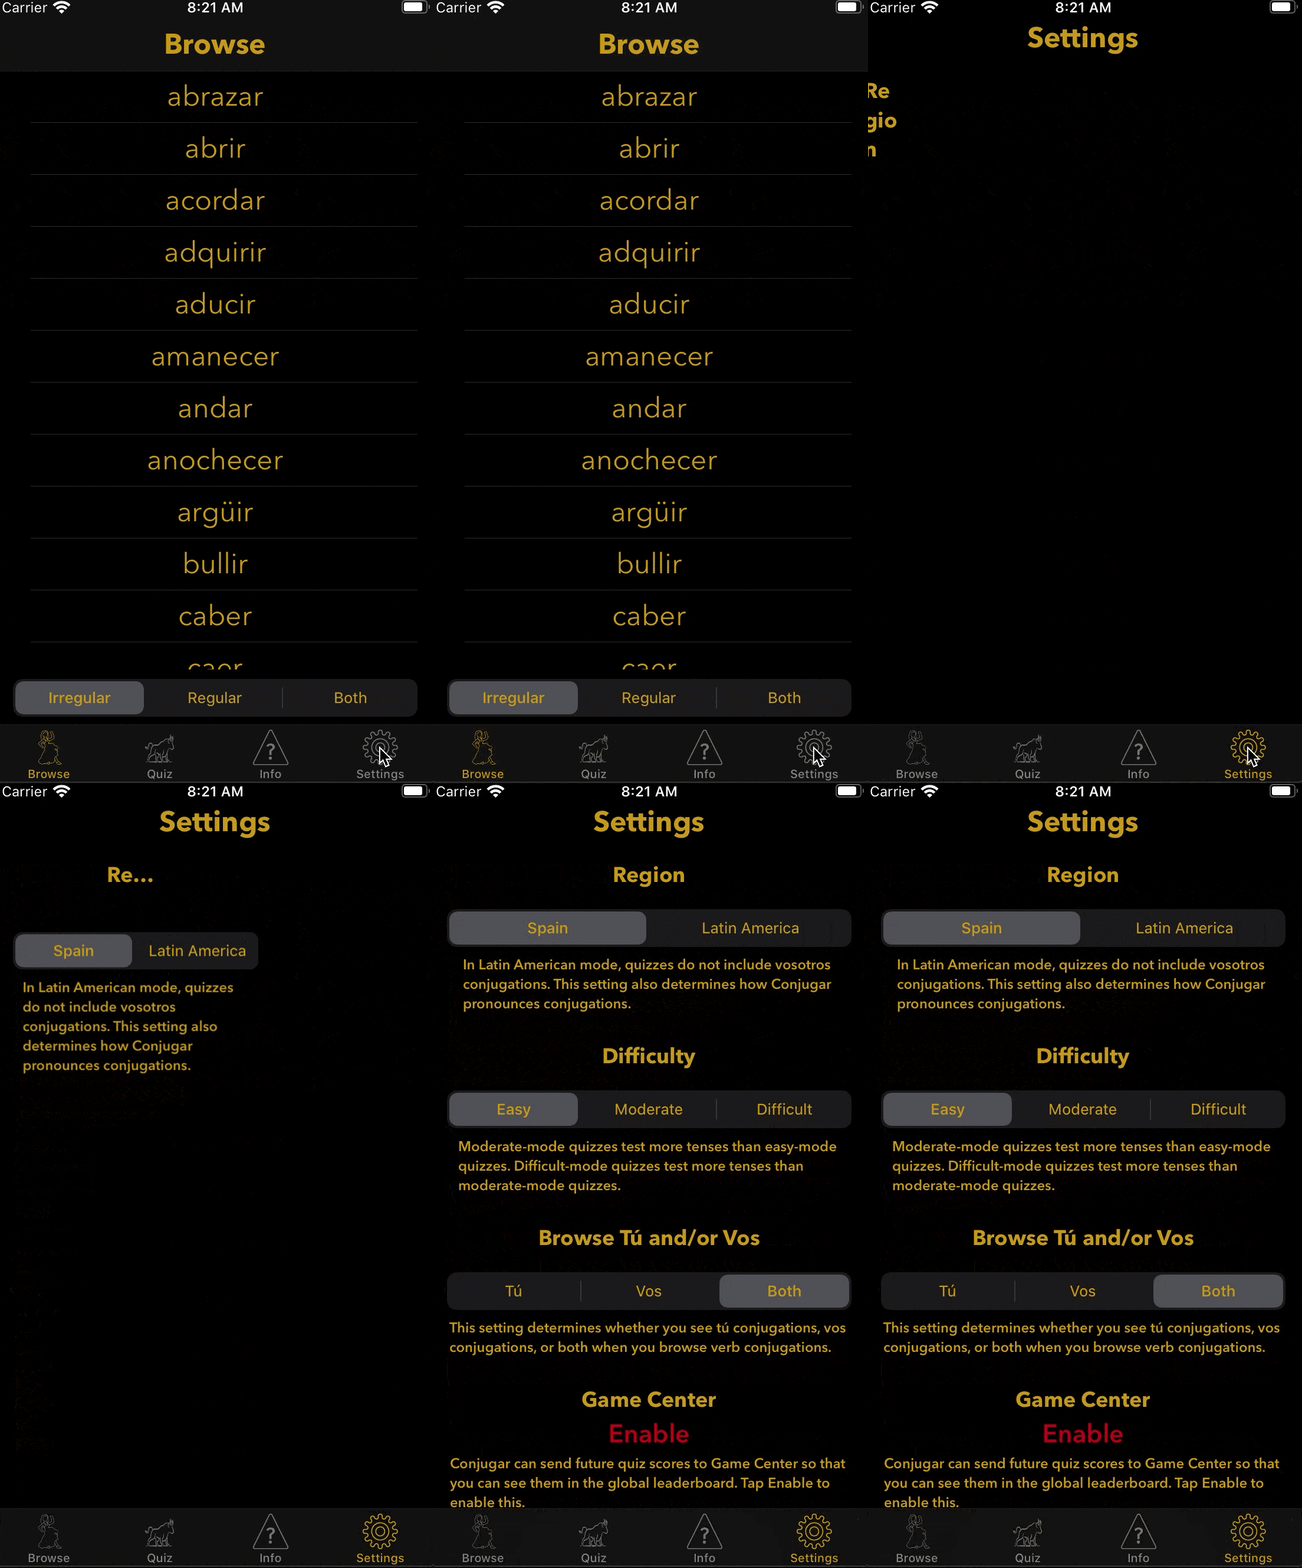
I hacked together a different animation which, though not identical to the pre-existing animation, does presumably draw the user’s attention to the Button. Here is the code:
// These are properties of SettingsView.
@State private var isGameCenterButtonOffScreen = true
private let offScreenButtonScale: CGFloat = 1.5
private let animationDuration = 1.0

...

Button("Enable") {
  // Code omitted for clarity.
}
  .modifier(StandardButton())
  .onAppear {
    self.isGameCenterButtonOffScreen = false
  }
  .scaleEffect(isGameCenterButtonOffScreen ? offScreenButtonScale : 1.0)
  .animation(.easeInOut(duration: animationDuration))
Here is how this code, which Conjugar shipped with, behaves in the simulator:
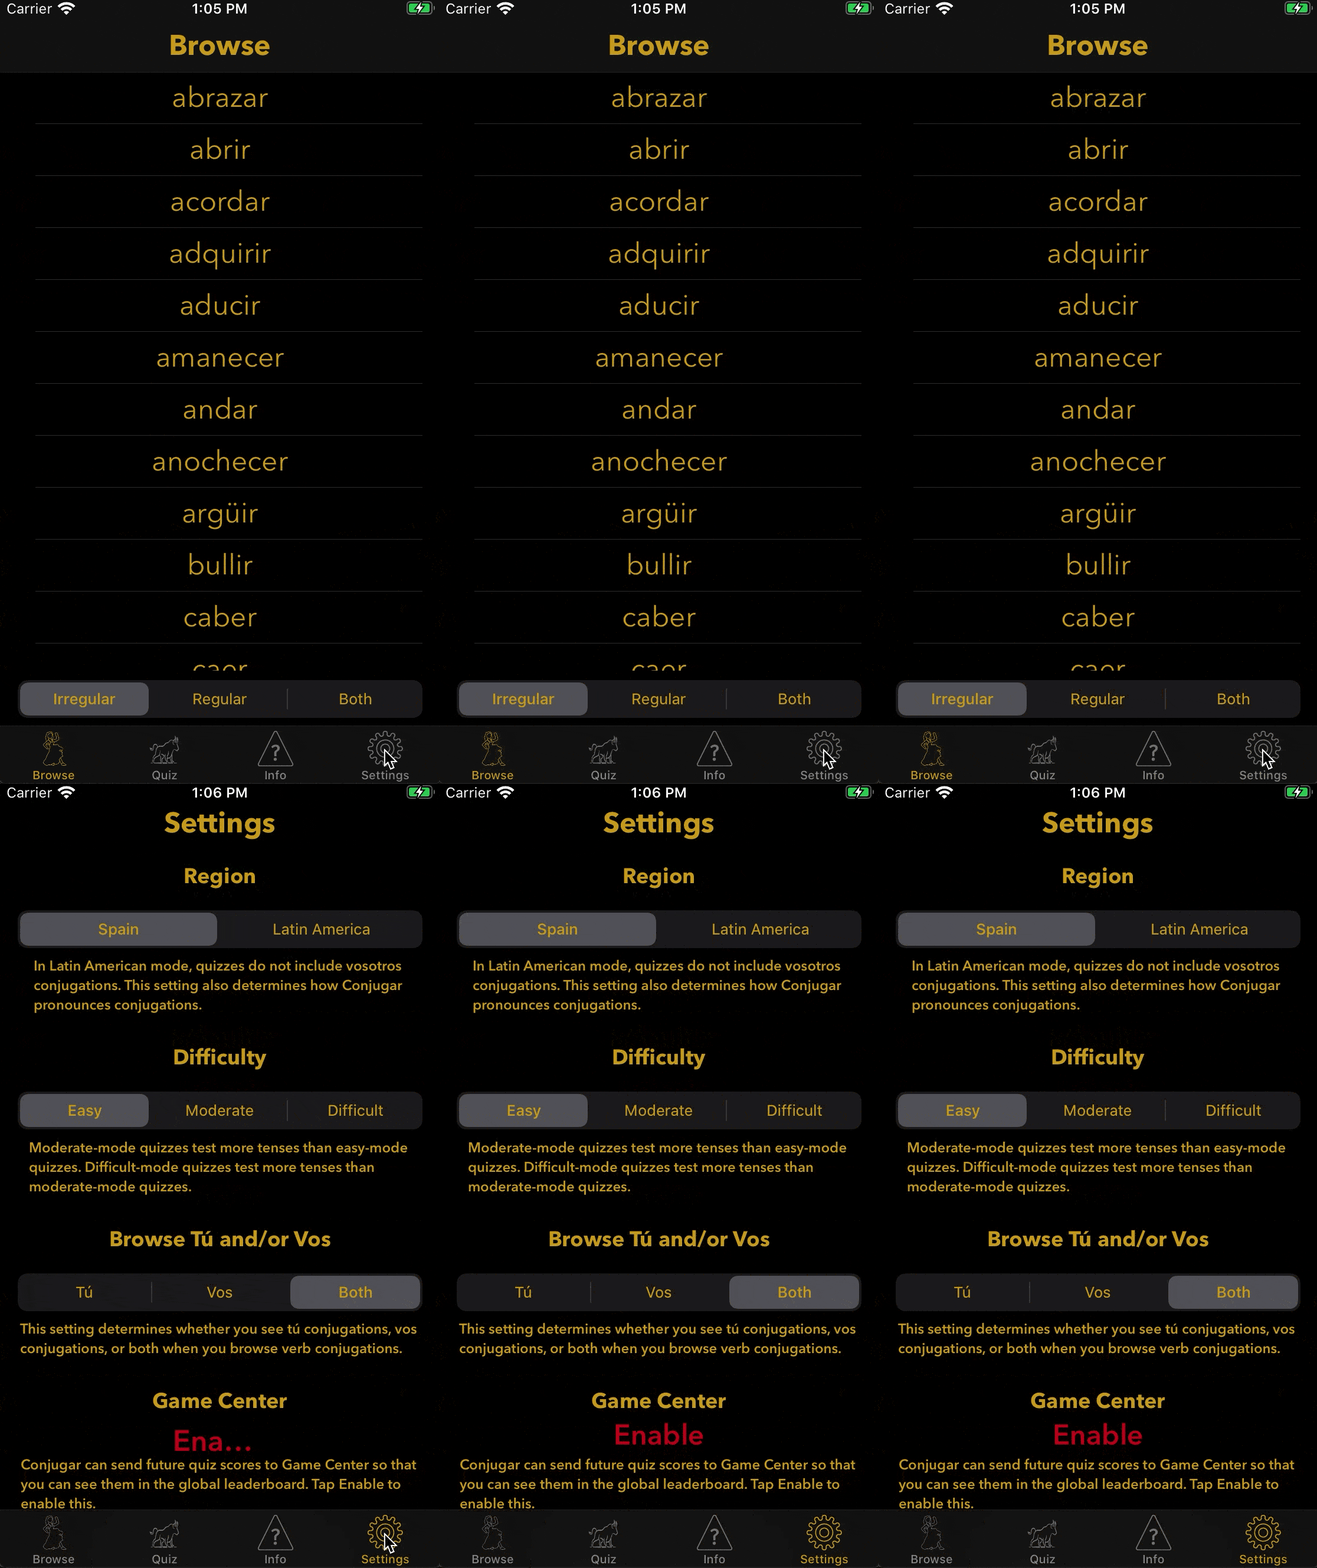
To my surprise and delight, I discovered that the SwiftUI animation behaves similarly to the UIKit animation when the SwiftUI animation runs on device. Here is the animation on my iPhone 7 Plus:
The learning here is that a bug or strange behavior that appears in the simulator may not be present on device.
On a meta note, I enjoyed the research and experimentation that went into the seemingly prosaic task of animating the size of a Button. iOS development with UIKit can seem like old hat at this point. It assuredly was not for me in 2013, when I entered this field with the help of Stanford’s course.
Unit-Testing SwiftUI
Unit-testing is important to me. As Jon Reid observed, “[a] robust suite of unit tests acts as a safety harness, giving you courage to make bold changes.” Before conversion of the settings screen in Conjugar to SwiftUI, unit-test coverage stood at 85.3%. Reduction in code coverage was a non-goal of the conversion.
As described above, the new SwiftUI SettingsView replaced the UIKit SettingsView and SettingsVC. The old SettingsView had good code coverage because the SettingsVC unit tests instantiated a UIKit SettingsView. I replicated this coverage in a unit test for the new SwiftUI SettingsView:
class SettingsViewTests: XCTestCase {
  func testInitialization() {
    let settingsView = SettingsView()
    XCTAssertNotNil(settingsView)
    XCTAssertNotNil(settingsView.body)
  }
}
Post-conversion, the code coverage in Conjugar is 85.7%, a slight improvement. All is not well in unit-testing land, however. The now-excised SettingsVCTests tested behavior. For example, the following code verified that manipulating the UISegmentedControl for quiz difficulty had the expected effect of changing the difficulty setting:
XCTAssertEqual(settings.difficulty, .easy)
let difficultyControl = svc.settingsView.difficultyControl
difficultyControl.selectedSegmentIndex = 2
svc.difficultyChanged(difficultyControl)
XCTAssertEqual(settings.difficulty, .difficult)
difficultyControl.selectedSegmentIndex = 1
svc.difficultyChanged(difficultyControl)
XCTAssertEqual(settings.difficulty, .moderate)
My unit tests no longer test behavior of the settings screen. I have therefore lost some of the benefit of unit-testing: verifying that behavior of the settings screen remains correct after any subsequent code changes, whether they be for feature additions, bug fixes, or refactorings. I am not alone in mourning this loss.
For two reasons, however, I am optimistic about the prospects for unit-testing code that uses SwiftUI.
First, as Alexey Naumov observed, there is a third-party option: ViewInspector. This library “allows for traversing [a] SwiftUI view hierarchy [at] runtime[,] providing direct access to the underlying View structs” and “simulat[ing] user interaction by programmatically triggering system[-]controls callbacks”. I intend to explore using ViewInspector to test the behavior of SettingsView and potentially other SwiftUI code I write.
Second, statements by Josh Shaffer, engineering director with the SwiftUI team at Apple, uttered on the podcast Swift by Sundell, indicate that a solution may exist within Apple. Mr. Shaffer stated that Apple’s unit tests for SwiftUI’s UIKit backend were so robust that the first macOS app using SwiftUI’s AppKit backend just worked. If there is an internal solution, Apple could eventually release this solution to the wider community. This happened with Marzipan. Although Apple announced this framework for running UIKit apps on the Mac in 2018, Apple released Marzipan to the wider developer community in 2019, renaming the framework Catalyst. With respect to future prospects for unit-testing code that uses SwiftUI, the open question is how relevant Apple’s techniques for testing SwiftUI itself are to testing third-party code that uses SwiftUI. Time may tell.
Subjective Reactions and Questions for Readers
Stated as an emoji, my review of SwiftUI is 👍.
- Unlike with UIKit and programmatic layout, I don’t have to manually specify every constraint. The built-in ones mostly just work. I don’t have to manually activate every constraint. I don’t have to set
translatesAutoresizingMaskIntoConstraintstofalsefor every element on screen. There is less ceremony. - The newness of the declarative paradigm poses a refreshing challenge. One of the attractions, for me, of the software-development profession is its emphasis on learning, and SwiftUI definitely constitutes a learning opportunity.
- Working across Apple’s five platforms is a design goal of SwiftUI. My own goal of releasing the same app on those five platforms therefore seems more attainable. Catalyst serves a similar goal, but less completely, allowing only the sharing of UIKit code between iOS/iPadOS and macOS.
I welcome feedback from readers, in particular on the following questions:
- What sort of file-and-group naming conventions are you using?
- How do you approach unit-testing code that uses SwiftUI?
- Are you aware of a better way to re-implement the button animation?
- In a mixed UIKit/SwiftUI app, how do you integrate
EnvironmentObjectwith your existing approach to dependency injection?